While many plant enthusiasts aim to achieve impressive size with their plants, there comes a point when your peace lily might have grown excessively large. It can almost seem like you’ve taken care of it a bit too effectively. If you’re interested in downsizing your oversized peace lily, you can find helpful guidance in this article on managing your overgrown peace lily.
If your peace lily has become too large, the most effective solution is to trim it back through pruning. Alternatively, you can consider dividing the peace lily, a method that entails carefully dividing the root ball of your oversized indoor plant.
If you’re eager to discover more about the separation process and the appropriate timing and techniques for pruning your peace lily, this article is your comprehensive guide. After reading it, you’ll have all the knowledge you need to effectively manage your peace lily and prevent it from further growth. If you want to know how to take care of peace lilies then check out my recent article Peace Lily Care ( In 6 Easy Steps ).
Overgrown Peace Lily
Owning and nurturing a houseplant like a peace lily provides you with choices for its cultivation. Some indoor gardeners choose soil, while others choose a hydroponic water-based method.
Regardless of your chosen method, you consistently provide top-notch care for your peace lily. You’re cautious not to overwater (if using soil), ensuring the soil remains moist but not waterlogged. You also avoid letting the soil become bone dry.
You fertilize as necessary, with more frequency during warmer months than in winter. Additionally, you maintain the ideal humidity level for your peace lily. Your dedicated efforts have resulted in your peace lily thriving, growing lush, and showcasing vibrant, white flowers or spathes. It’s safe to say that your peace lily is flourishing and in excellent condition thanks to your diligent care.
If you’re cultivating your peace lily in a pot, it’s advisable to inspect the drainage holes. Are they obstructed by roots eager to expand and explore? This is a clear indication that the roots have outgrown the container and require more space.
Do you notice water pooling on the soil’s surface rather than being absorbed? This occurs when the soil quality deteriorates due to prolonged pot confinement. It is generally recommended to repot your peace lily at least once a year, typically during the spring season. If you’ve had your peace lily for an extended period without repotting, it’s highly likely that the time for repotting has arrived. If you want to know when to repot your Peace lily then check out my recent article When To Repot Peace Lily ( Top 7 Signs ).
Pruning Leaves
It’s important to pay attention to the leaves of your peace lily, as they can become overgrown and untidy if the houseplant gets too large.
When trimming the leaves, it’s advisable to use sterilized cutting shears to ensure cleanliness and prevent the spread of diseases to your houseplant. Make each cut with care, starting at the base of the peace lily leaf near the leaf petiole, which is the stalk connecting it to the stem. Always make your cuts at an angle of approximately 45 degrees, avoiding straight cuts.
Pruning the leaves can be necessary in various situations. If the leaf tips turn brown, you can trim them to maintain the overall leaf’s health. If a leaf is entirely infected or in poor condition, it’s best to remove it entirely. Yellowed leaves, which can occur with age, may also warrant the pruning of entire peace lily leaves.
Trim Back The Roots
Trimming the roots is an even more effective method for controlling the size of a Peace Lily. The size of the root system imposes a natural limit on the amount of foliage the plant can support.
Once a year, during the early spring growing season, perform a root pruning. You’ll need a garden knife for the primary cuts and some shears to tidy up any remaining roots.
Carefully tip your Peace Lily out of its pot, holding the stems close to the soil level. Ensure your knife is properly disinfected, as we advised in Tip #2. Then, make cuts through the root mass about ¼ of the way up from the bottom. Use sanitized clippers to trim any lengthy roots still hanging from the sides.
We understand that this might go against your instincts as a plant parent. However, as long as you don’t remove more than ⅓ of the root ball, you won’t cause any lasting harm.
If the remaining roots are densely packed, gently pinch and knead them with your fingers to encourage spreading. Afterward, replant your Peace Lily in a well-draining potting mix. Be gentle with it for the next few weeks, shielding it from direct sunlight and maintaining a humid environment. Peace Lilies do not mind having their roots bound, for more information check out my recent article Do Peace Lilies Like To Be Root Bound? ( Yes But Not Always ).
Overgrown Peace Lilies Often Get Too Much Light
This might appear to be the simplest tip on the list, but it’s actually the most delicate to implement correctly, which is why we’ve placed it last. The growth of any plant is inherently linked to the amount of sunlight it receives. To maintain a small Peace Lily, consider placing it in a somewhat shaded location.
However, exercise caution. If the environment is excessively dark, your plant may become leggy as it stretches toward the light. The stems will become thin and sparse, and the leaves will lose their usual shiny forest green appearance, becoming floppy and pale. In severe cases of light deprivation, your Spathiphyllum may even refuse to produce blooms.
To start, make small adjustments to your Peace Lily’s light exposure. If it’s currently in an east-facing window, relocate it to a north-facing one. If it’s positioned 5 feet from a bright southern exposure, move it back an additional 3 or 4 feet. Always ensure that your Peace Lily continues to receive a few hours of bright, indirect sunlight each day.
Clean The Leaves
Occasionally, the leaves of your peace lily may appear dull and dusty, requiring a cleaning rather than pruning. You can gently wipe down the leaves using a soft, damp cotton cloth and gently polish them with a circular motion. This will restore the plant’s pleasing luster.
Dividing the Peace Lilies
Another option to consider is dividing or separating the houseplant. This method allows you to reduce the size of the peace lily by focusing on the bottom of the plant, particularly the roots. Additionally, division or separation can be used to propagate new peace lilies if desired.
Here’s how to go about it:
- Carefully remove your peace lily from its current pot or container. If it’s stuck, gently place a hand on the foliage to get a secure grip. Instead of forcefully pulling, try rocking the houseplant back and forth to ease it out of the pot. Be patient, as it may take a little time, but the plant should come out without damage.
- Prepare a clean, flat surface to work on, such as a countertop or table. Lay the removed peace lily on its side so that you can inspect the roots from an optimal angle. Look for roots that are excessively large and/or long, as these will need to be addressed.
- Get a sharp kitchen knife and ensure it’s thoroughly sterilized before you start any cutting. Locate the peace lily’s root ball. We’ll provide more details about root balls now.
- The root ball is the central mass of roots that supports your houseplant. If you’re uncertain whether you’ve found the root ball, begin at the base of your plant and work your way down. The root ball should be located relatively close to the base.
- Use your knife to split or divide the root ball into two parts. In some cases, a root ball might be particularly large or tangled, making it challenging to work with. If your peace lily has become rootbound, meaning its roots have grown and attached firmly to the pot or container, a knife with a serrated blade can be helpful for cutting through large or tangled roots.
- It’s worth noting that not all situations require a knife. If your peace lily has relatively small roots, you might be able to separate them by hand. Gently and firmly split the root ball, being cautious not to cause excessive tearing.
Don’t worry if you accidentally cut into the roots of your peace lily during the splitting process. While it’s not something you aim to do, it’s quite common, especially if this is your first time working with a root ball. Your peace lily should survive even if it loses a few roots.
You’re not restricted to splitting your root ball into just two parts; you can continue dividing it as many times as you’d like. However, it’s essential not to discard the separated root ball pieces once you’re finished. They can be very useful.
Once you’ve divided the pieces, take one of the root ball sections and place it back into the original pot or container it came from. Ensure the roots are buried in potting mix or soil, water the soil lightly, and continue caring for the root ball as usual. It will grow into a new peace lily. Repeat this process with the other separated root ball pieces, giving each its pot or container to thrive in.
Deadheading
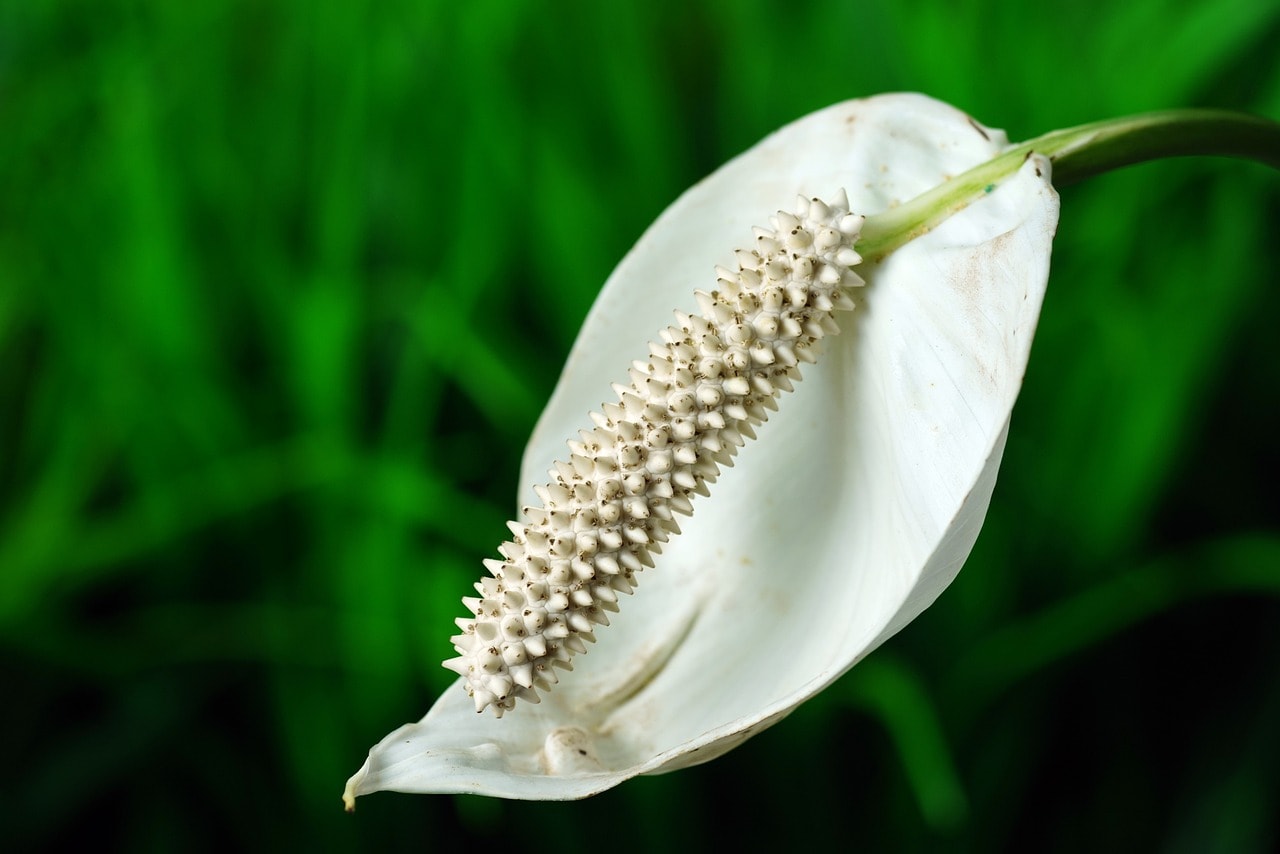
The peace lily’s flower consists of a single white petal with a white, spiky structure attached to the stem. Normally, the flower itself doesn’t contribute to the peace lily’s size problem. However, understanding how to deadhead it can help maintain your peace lily’s appearance.
As you might have observed, the peace lily’s flower can change color over time. It usually starts as a beautiful white blossom (lasting only a few days), then turns green before eventually becoming brown or black. Sometimes, the flower falls off naturally. While this is part of the peace lily’s natural life cycle, it’s disappointing when the attractive flower dies. Deadheading the flower involves removing all the dead growth surrounding it, potentially encouraging the growth of a new flower if you continue caring for your peace lily.
To deadhead the flower, you’ll need clean, sterilized pruning shears or scissors. Make a cut as close to the plant’s base as possible, ensuring you have a larger surface area to work with. This process can help maintain the aesthetic appeal of your peace lily.
Grow Small Peace Lily Varieties
Various peace lily varieties exhibit distinct growth potentials. To maintain a smaller size, go for a compact variety specifically bred for shelves and tabletops. Here are a few recommended options:
- Spathiphyllum Petite: True to its name, the “Petite” Peace Lily won’t exceed 8-10 inches in height, making it ideal for small spaces.
- Little Angel: Besides its small size, the “Little Angel” Peace Lily is known for prolific blooming, producing numerous beautiful white flower bracts.
- Piccolino: The name “Piccolino,” which means “little one” in Italian, accurately describes this variety, as it stays under 2 feet tall. Its leaves are a deep, glossy green.
- White Stripe: You can easily identify the “White Stripe” by the slender band of creamy coloration along the midrib of its leaves. This dwarf cultivar maintains a compact size.
Steer clear of variants like the Mauna Loa Supreme or the massive Sensation Peace Lily. The Supreme can easily grow up to 4 feet in height, while the Sensation is known to reach towering heights of up to 6 feet.
Unfortunately, finding a specific cultivar isn’t always straightforward. Online retailers and large garden supply stores often don’t carry the more unique varieties, except for the occasional Spathiphyllum Petite. These sellers also typically don’t bother labeling the specific cultivars they do have. Instead, they often sell all of them under the generic label of “Peace Lily” or simply categorize them as “Spathiphyllum Wallisii,” which encompasses the diverse range of varieties listed above.
How To Avoid Your Peace Lily Becoming Overgrown
Naturally, if you’re not sure why your peace lily became so large, you might find yourself facing the same issue in a few months or longer. Even the peace lilies you propagated could potentially grow too large.
Understanding why your peace lily reached its current size is crucial. With this knowledge, you can take preventative measures to maintain the size you prefer for your houseplant. Here are some helpful tips and guidance to assist you in this endeavor.
Regular Pruning
You don’t need to wait until your peace lily becomes excessively large to start practicing pruning. Anytime you notice leaves growing too large or wide, you can go ahead and trim them. It’s best to cut from the edges if the leaves are healthy and green.
However, it’s essential to avoid excessive pruning. You shouldn’t have to trim your houseplant weekly or biweekly. Otherwise, you’ll hinder its growth. Instead, inspect your plant every two months or so to determine if it requires any pruning, and proceed accordingly.
Keeping It Small
If you’re aiming to control the size of your peace lily, it might seem tempting to cut back on certain aspects of care. For instance, you might consider reducing watering frequency, skipping a round of fertilizer, or delaying repotting for a year, right?
Well, not exactly. While withholding water may cause your peace lily to shrink, it’s actually a sign of withering and impending death. Similarly, neglecting to provide fertilizer deprives your plant of essential nutrients needed for both growth and survival. If you skimp on fertilizer too much, you risk killing your peace lily.
As for repotting, it’s true that not doing so won’t prevent growth. The roots will simply continue to grow out of the pot’s drainage holes. However, it’s still essential to repot your peace lily annually, but avoid upgrading to a significantly larger pot size. Remember, plants tend to grow to the size of their pots, or at least, they try to.
Peace Lilies Can Get Big Easily
Indoor peace lilies typically reach an average height of around 16 inches, with a width of about 10 inches. As they can grow quite large, it’s wise to consider limiting their size when possible!